Container Shed
While the original plan for our house included a separate garage, it was not in budget for us and we deferred it to the future. In the meantime, we still wanted a place to store things like canoes, kayaks, small recreational vehicles and so forth. Basically, we wanted a large shed.
After pondering for a year or so what to do, we settled recently on the idea of using a shipping container for a shed. A container has many things going for it. They are durable, water tight, and relatively inexpensive. While they are not the most attractive structure, a container does fit in with the modern, rustic design of the new house and its use of industrial materials. Standard containers are 8' wide, 8' tall, and come 10', 20' and 40' lengths. We decided that a 20' container work work best.
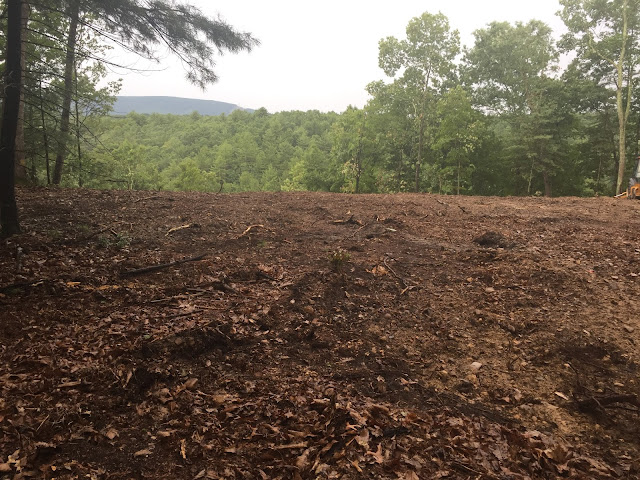
Settling on this approach, I got to work quickly. The first thing I did was pick a location. I picked a spot on the opposite side of our tiny cabin. The cabin will obscure the container a bit from the house. The spot is also relatively level for the site, which makes doing a foundation for the container easier. My next step was to create a foundation for a 20' container. Since we are doing this on the cheap, I went with a timber foundation. Containers only need to be supported at their corners, so one large, 8' long timber at each end provides an adequate base. Many people use railroad ties for this, but I went with 6x6 timbers pressure treated for ground contact. These will last much longer than railroad ties.
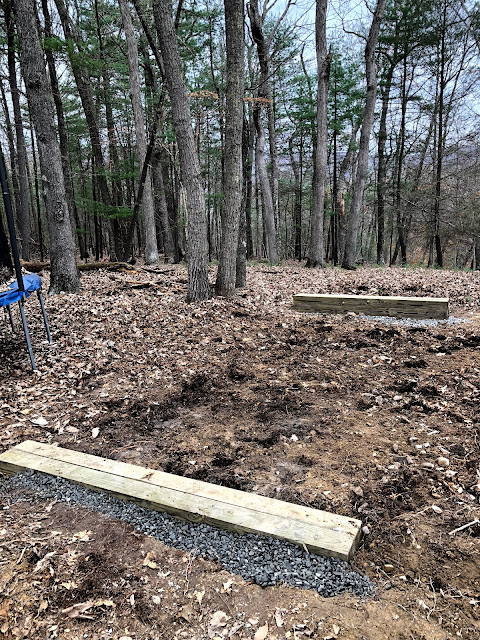 I rented a trencher, which are awesome tools because they look like a giant chainsaw wielding industrial robot. I used this to quickly and painlessly cut two shallow trenches at the end of the imaginary container. I partially filled these back in with several inches of crushed stone, laid the timbers, and backfilled with more crushed stone. Finally, I drilled 1/2" holes through the timbers and sledge hammered 4' pieces of rebar through them into the soil to fix them in place. This process, including getting and returning the trencher took one day. The reason it took that long is that the timbers must be precisely placed, and carefully leveled. If they are out of level front to rear, it will be difficult or impossible to operate the container's doors.

While level for the site, the spot does drop about 1' from front to rear over the 20'. I laid the front timbers so their top is just an inch or so above grade in the front. In the rear, I laid two layers of timbers, and poured the crushed stone up to grade, with the timbers resting on grade. I staked out a rectangle of strings, which I leveled, to guide laying and leveling the timbers.
I found a couple sources for containers, and decided to go with the place closest to the site. It is located of I-81 close to Martinsburg,WV, less than an hour's drive to our site. Today, I was able to take off the afternoon from work and drive out to find a container. They had many to choose from, and I picked out a nice looking one that showed little evidence of use. It looks like it was taken out of service due to a hole in the roof. I found the hole by closing the doors and looking for light. The hole turned out to be a pinhole, maybe not big enough for a water drop to get through. I think I can fix it with a dot of silicon sealant. We talked about price and delivery particulars, and closed the deal in a matter of minutes. Even better, the delivery driver said he was free and could deliver it this afternoon.

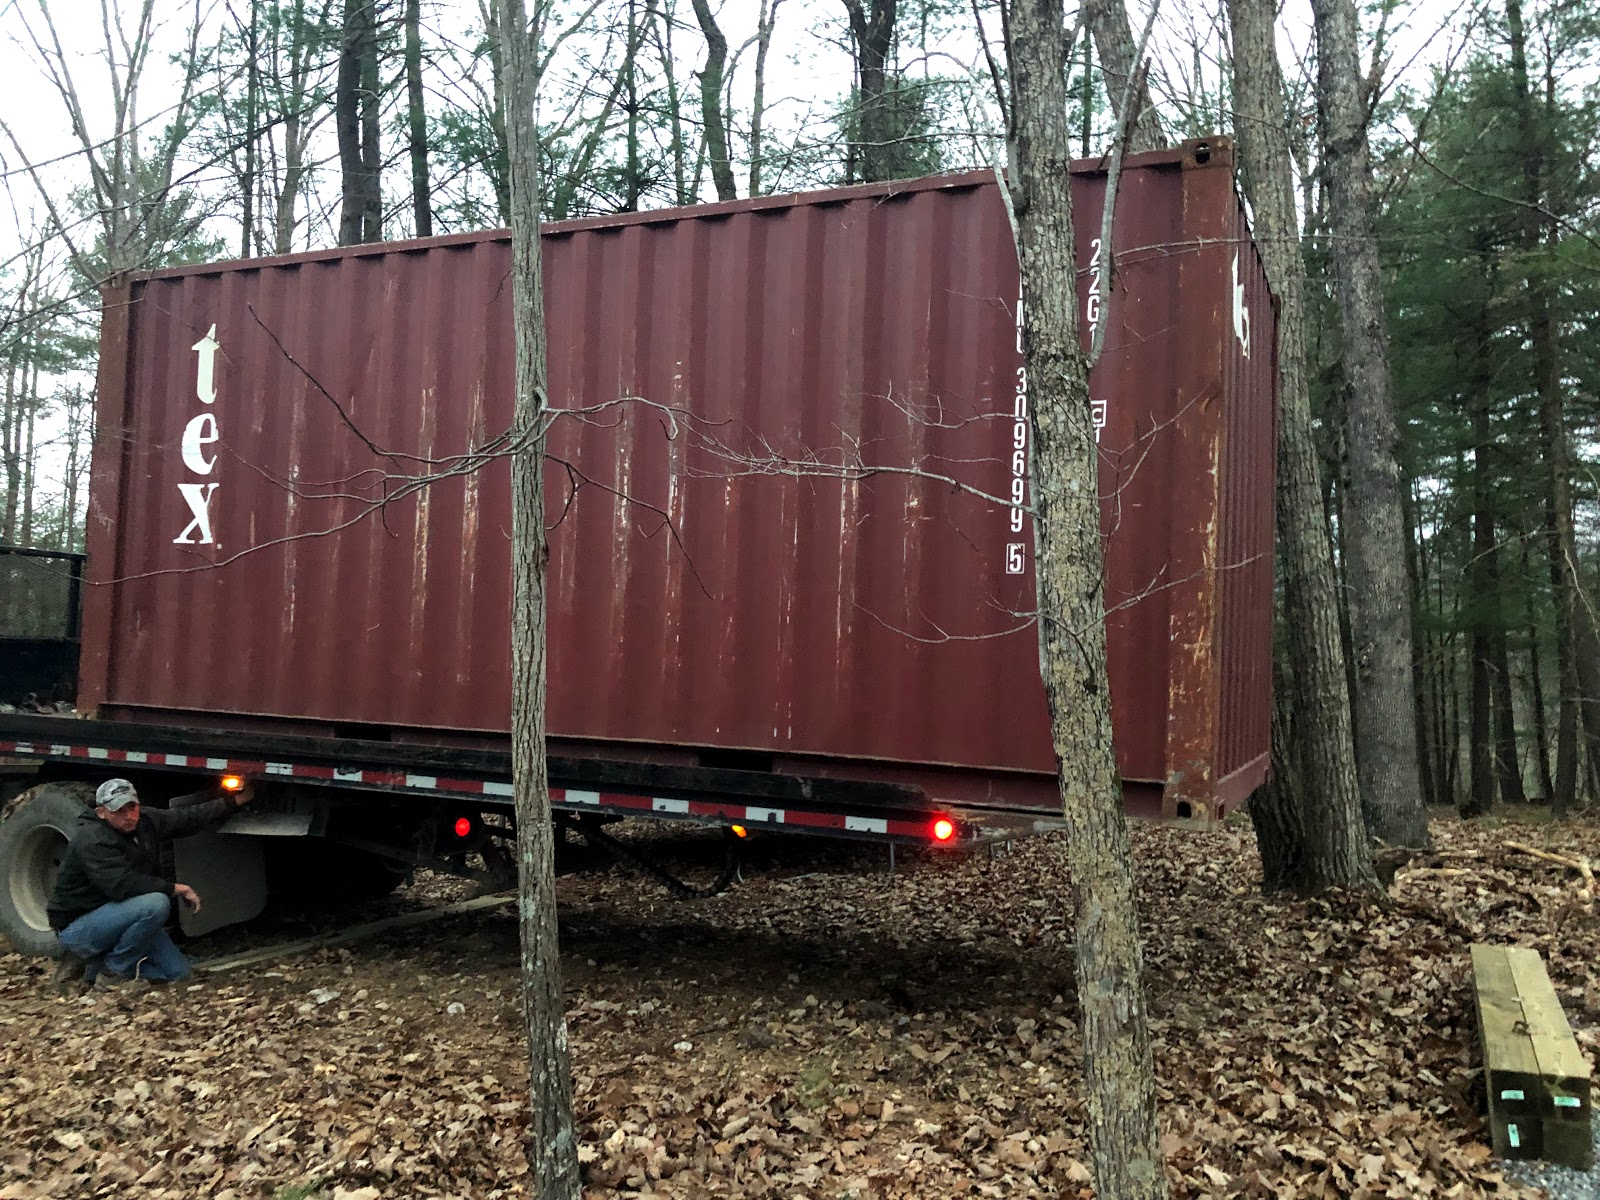
Here I am, the proud new owner of a sea container, following it to its new home. Note that it already has a name, painted on the door and sides, "Tex."

The driver initially showed up at the container yard with a semi truck and a trailer for a 40' container. Given the tight hairpins on our private road, he swapped out for this much shorter truck on my recommendation.


The driver was awesome about unloading it precisely. It is not over the timbers in these pictures, because he was using the tilt trailer controllers to first hang the container way over the edge, and the drop it on the timbers just right.

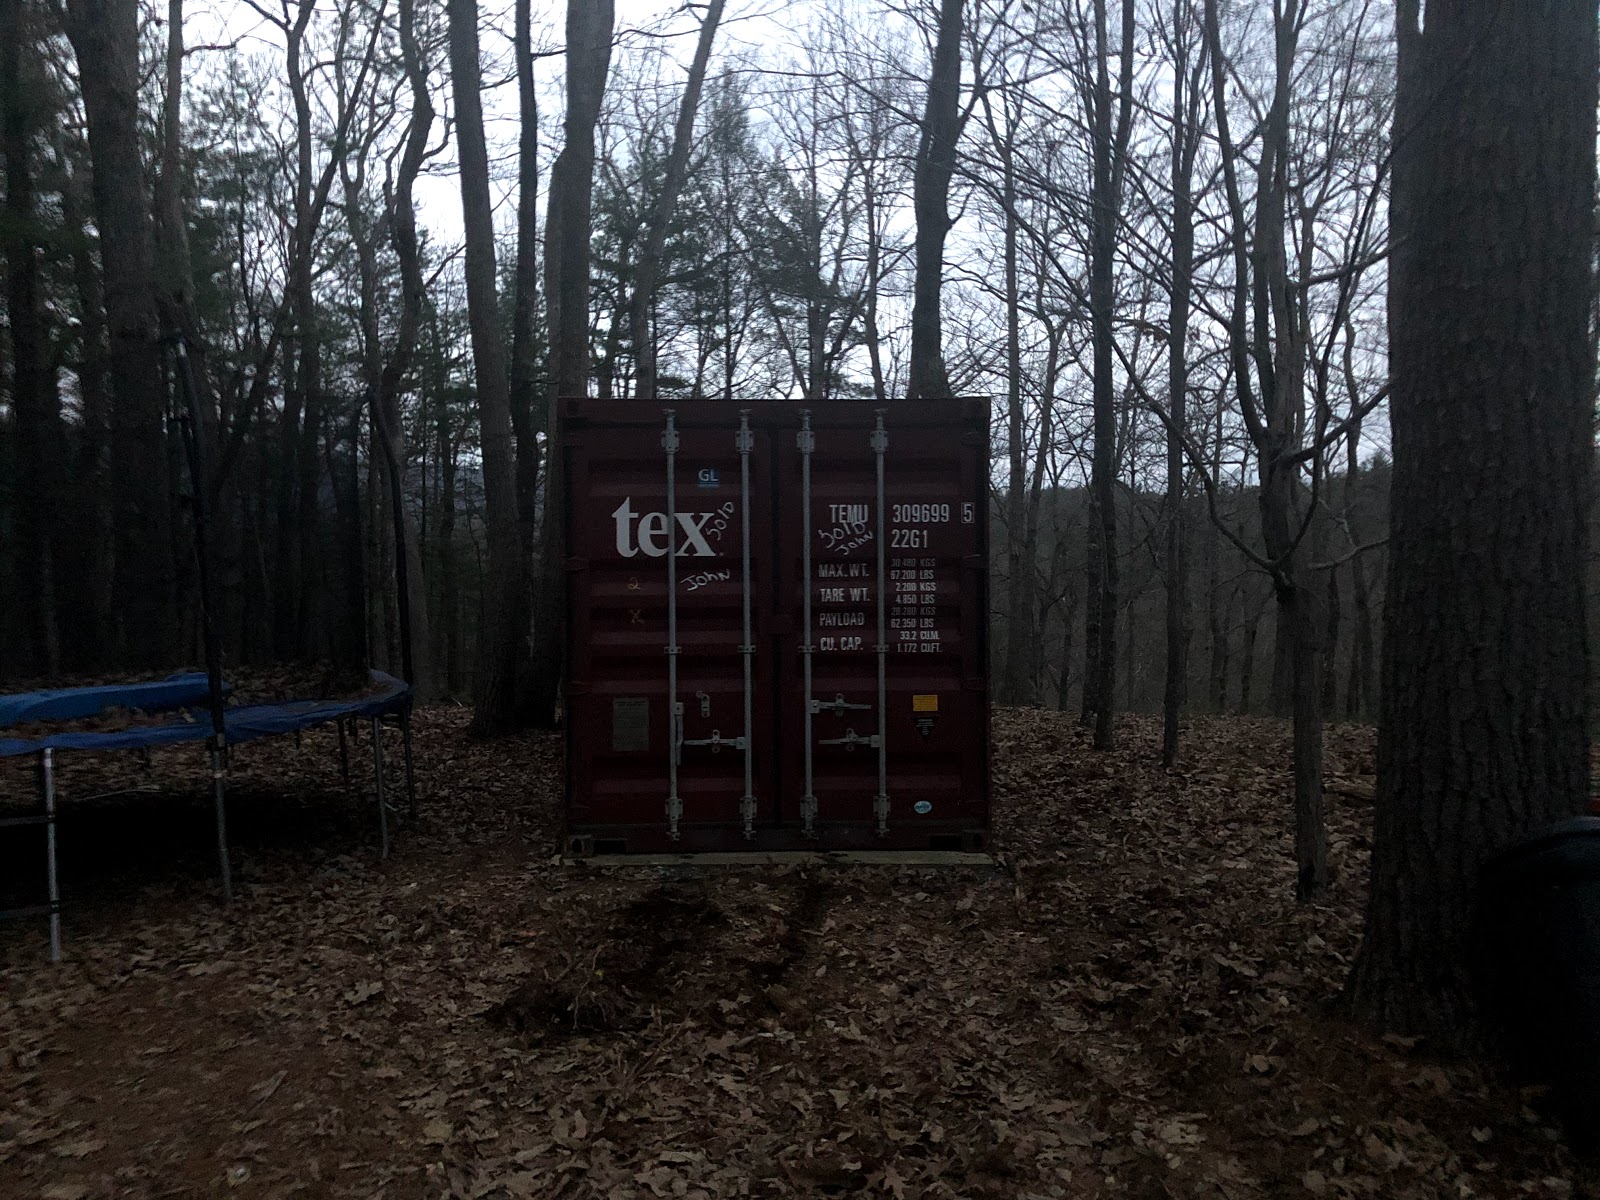
Then he drove forward and it dropped down on the front timbers. I measured correctly! Tex is home! And he got it unloaded just before it got truly dark.

I also leveled correctly, or good enough, as the doors are easy to work. We have plans to eventually clad the container in timbers. We lucked out with the color of this one. It is a nice rusty red, which should match well with the weathered steel that will cover most of the house, and the color does not stick out in the woods. It will be a while before we get to the cladding, so at least it will not look terrible in the meantime. I am even starting to think it looks cool as is, but we will see what the rest of the family thinks.
-John
After pondering for a year or so what to do, we settled recently on the idea of using a shipping container for a shed. A container has many things going for it. They are durable, water tight, and relatively inexpensive. While they are not the most attractive structure, a container does fit in with the modern, rustic design of the new house and its use of industrial materials. Standard containers are 8' wide, 8' tall, and come 10', 20' and 40' lengths. We decided that a 20' container work work best.
Settling on this approach, I got to work quickly. The first thing I did was pick a location. I picked a spot on the opposite side of our tiny cabin. The cabin will obscure the container a bit from the house. The spot is also relatively level for the site, which makes doing a foundation for the container easier. My next step was to create a foundation for a 20' container. Since we are doing this on the cheap, I went with a timber foundation. Containers only need to be supported at their corners, so one large, 8' long timber at each end provides an adequate base. Many people use railroad ties for this, but I went with 6x6 timbers pressure treated for ground contact. These will last much longer than railroad ties.


While level for the site, the spot does drop about 1' from front to rear over the 20'. I laid the front timbers so their top is just an inch or so above grade in the front. In the rear, I laid two layers of timbers, and poured the crushed stone up to grade, with the timbers resting on grade. I staked out a rectangle of strings, which I leveled, to guide laying and leveling the timbers.
I found a couple sources for containers, and decided to go with the place closest to the site. It is located of I-81 close to Martinsburg,WV, less than an hour's drive to our site. Today, I was able to take off the afternoon from work and drive out to find a container. They had many to choose from, and I picked out a nice looking one that showed little evidence of use. It looks like it was taken out of service due to a hole in the roof. I found the hole by closing the doors and looking for light. The hole turned out to be a pinhole, maybe not big enough for a water drop to get through. I think I can fix it with a dot of silicon sealant. We talked about price and delivery particulars, and closed the deal in a matter of minutes. Even better, the delivery driver said he was free and could deliver it this afternoon.

Here I am, the proud new owner of a sea container, following it to its new home. Note that it already has a name, painted on the door and sides, "Tex."

The driver initially showed up at the container yard with a semi truck and a trailer for a 40' container. Given the tight hairpins on our private road, he swapped out for this much shorter truck on my recommendation.

The driver was awesome about unloading it precisely. It is not over the timbers in these pictures, because he was using the tilt trailer controllers to first hang the container way over the edge, and the drop it on the timbers just right.

Then he drove forward and it dropped down on the front timbers. I measured correctly! Tex is home! And he got it unloaded just before it got truly dark.
I also leveled correctly, or good enough, as the doors are easy to work. We have plans to eventually clad the container in timbers. We lucked out with the color of this one. It is a nice rusty red, which should match well with the weathered steel that will cover most of the house, and the color does not stick out in the woods. It will be a while before we get to the cladding, so at least it will not look terrible in the meantime. I am even starting to think it looks cool as is, but we will see what the rest of the family thinks.
-John

Comments
Post a Comment